Why Does My Spider Plant Have Brown Tips?
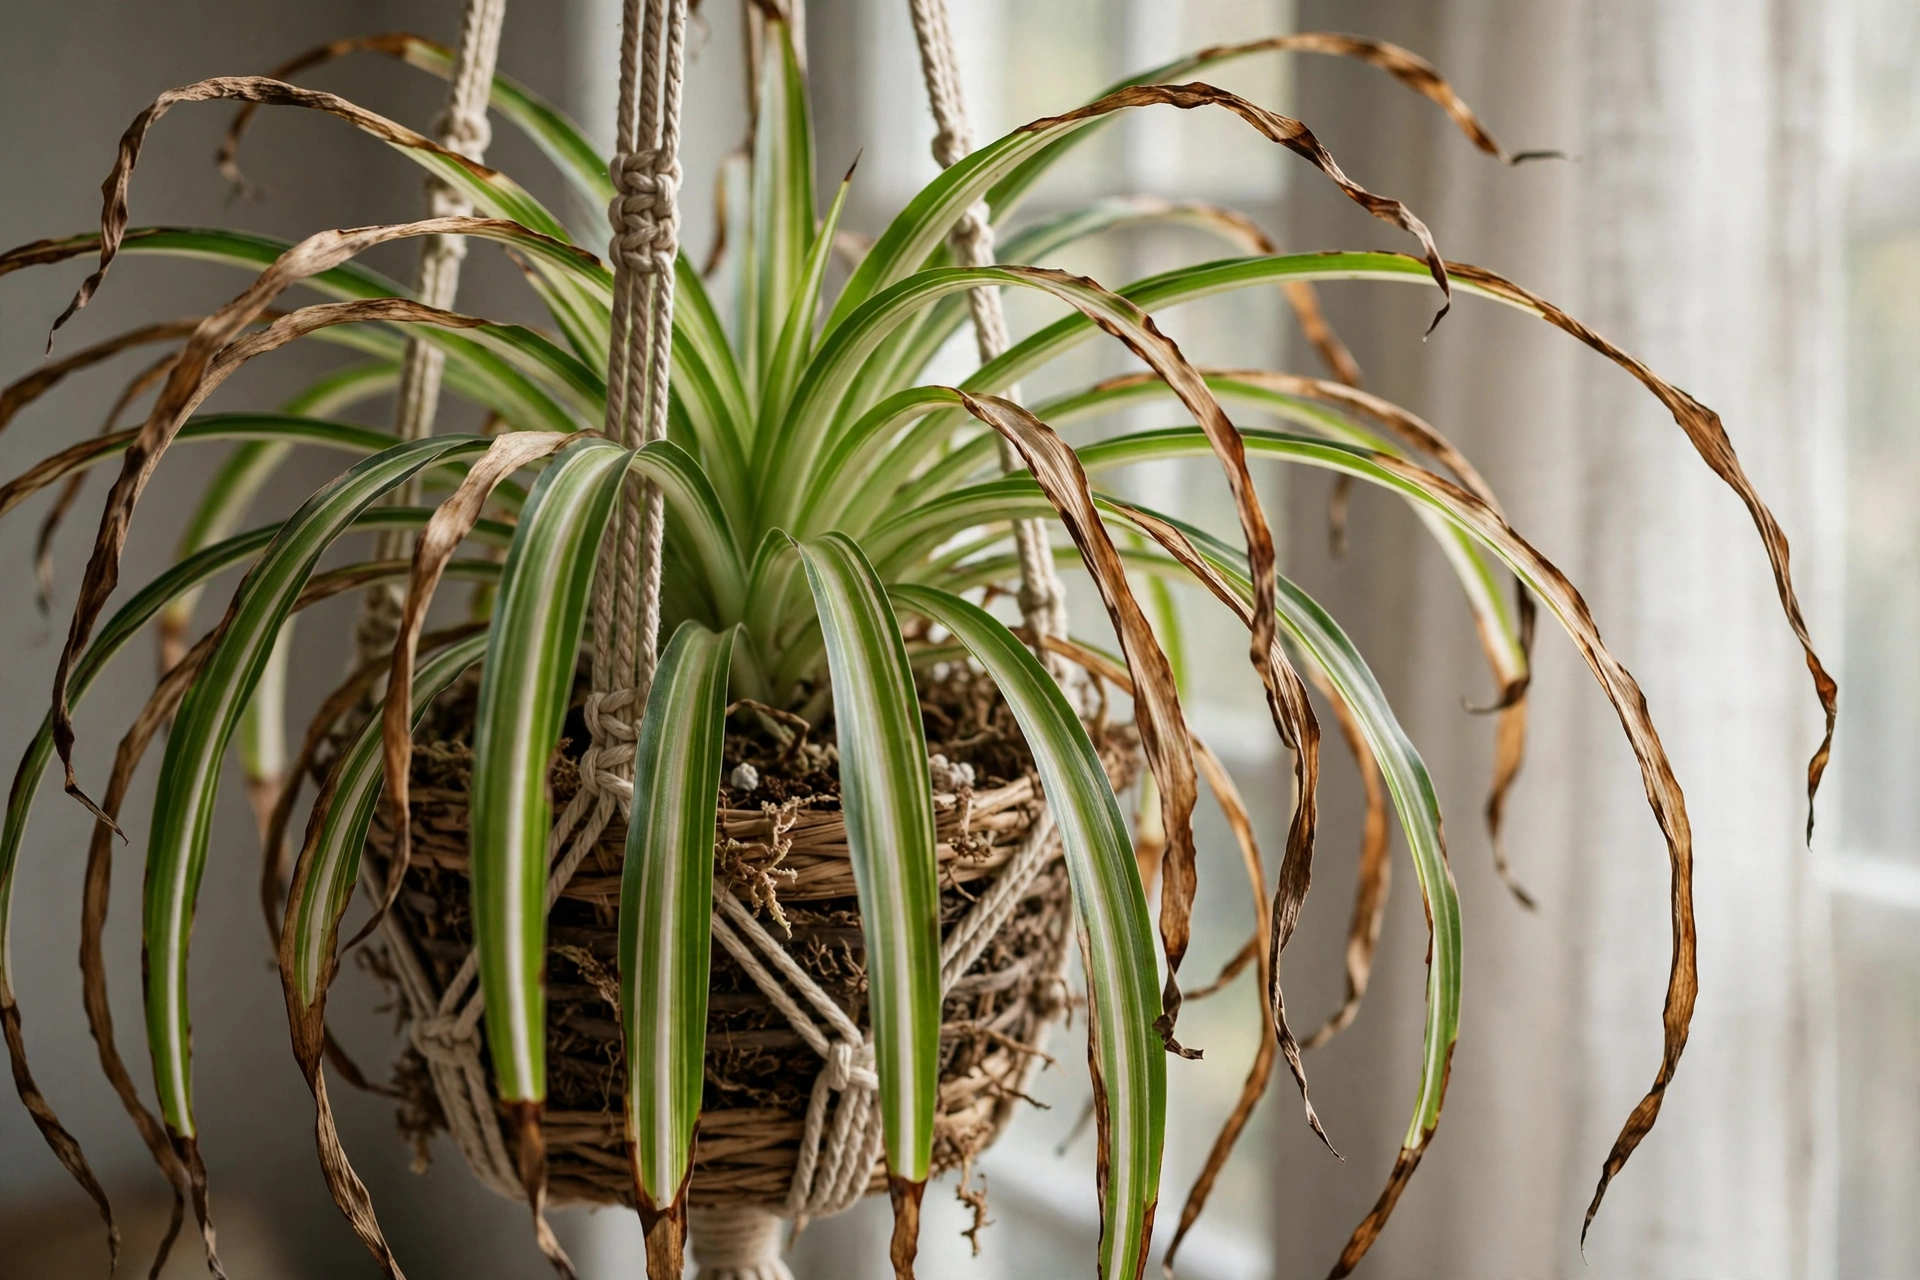
It is the most common spider plant complaint in the world: the plant looks healthy, it is pushing out babies, and yet the end of nearly every leaf is brown, dry, and crispy — as if each leaf had been touched with a lighter. Owners water more carefully, feed a little, move the plant around. The tips keep browning, because the cause is usually not in the care at all.
Spider plant brown tips are most often caused by a single ingredient in ordinary tap water that this species handles worse than almost any other houseplant. This guide works through the causes in the order to check them, starting with the one that explains most cases — and ends with the two-minute trim that makes the plant look clean again while the fix takes hold.
Quick Answer
Spider plant brown tips are usually fluoride burn from tap water: fluoride travels to the very end of each leaf, accumulates there, and kills the tip tissue. The fix is switching to distilled or rainwater and flushing the soil — not more fertilizer or more water. Brown tips never turn green again, but once the water changes, new growth comes in clean and the old tips can simply be trimmed away.
Quick diagnosis — match the tell to the cause:
| What you see | Likely cause | First fix |
|---|---|---|
| Brown tips on many leaves, care otherwise good | Fluoride in tap water | Switch to distilled or rainwater; flush the soil |
| White crust on the soil or pot rim, plus tip burn | Fertilizer salt build-up | Flush with 2–3× the pot’s volume of water |
| Tips brown after spells of drying out | Inconsistent watering | Keep moisture even; smaller, regular drinks |
| Crispy tips through the heated winter months | Dry indoor air | Raise humidity; group plants together |
| Pale, scorched patches as well as brown tips | Harsh direct sun | Move to bright, indirect light |
| Roots circling out of the drainage holes | Rootbound | Repot one size up in spring |
Table of Contents
Read the tip before you treat it
- How many leaves? Tips browning across the whole plant, old and new leaves alike, points to something in every watering — the water itself (Cause 1) or salts (Cause 2). A few leaves only suggests a local cause: sun, dry air, or age.
- Feel the brown. Dry, thin, and papery is a chemical or dryness burn. Soft or mushy browning is a different problem entirely — that is rot, and it belongs to a watering diagnosis, not this one.
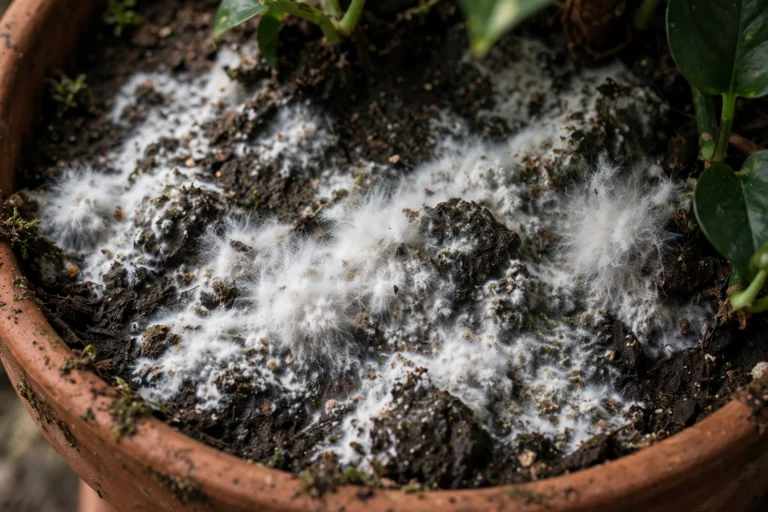
- Check the soil surface. A white, crusty film on the soil or around the drainage holes is visible salt buildup — Cause 2 leaving its signature.
Cause 1: Fluoride in tap water — the signature cause
Spider plants are unusually sensitive to fluoride, and most US municipal tap water is fluoridated at roughly 0.7–1.2 parts per million for dental health. That is harmless to you and to most plants, but a spider plant moves fluoride up its long leaves and deposits it at the far end — the tip — where it accumulates watering after watering until the tissue dies. It is a slow chemical burn delivered by the watering can, and it is why owners with flawless care still get brown tips.
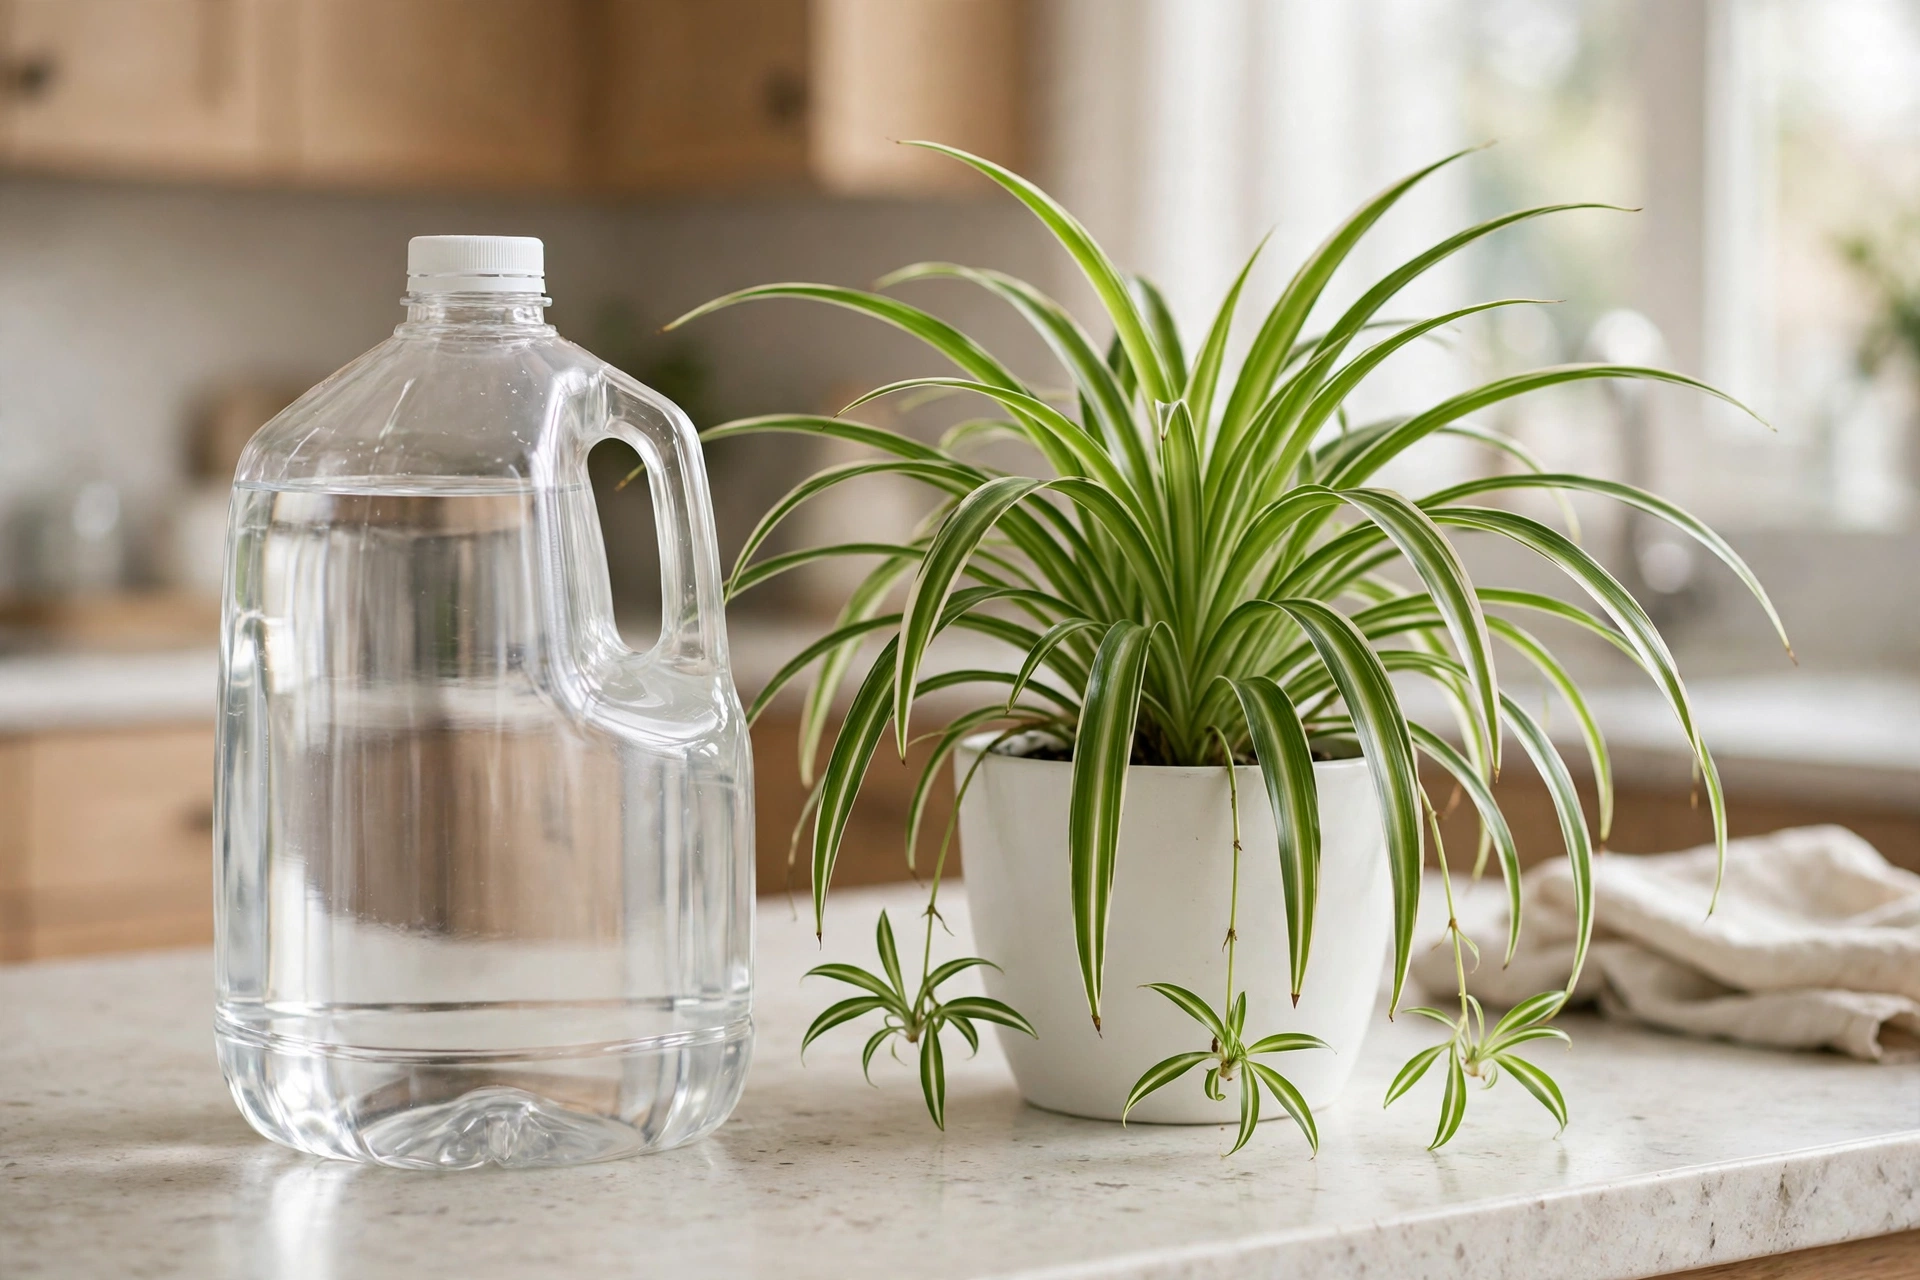
The tell: browning starts exactly at the tip and creeps inward, on many leaves across the plant, while everything else about the plant looks content. The browning follows your watering history — it worsens over months, not days.
The fix: change the water, not the routine. Water with distilled water or collected rainwater — both are fluoride-free. Two popular half-fixes do not reach fluoride: leaving tap water out overnight lets chlorine escape but fluoride does not evaporate, and standard charcoal pitcher filters reduce chlorine without reliably removing fluoride. Once the water is clean, flush the pot (below) to clear what has already built up in the soil, and judge the result by the new leaves over the next month.
Cause 2: Fertilizer salts — the slow buildup
Every feeding leaves a little behind. Over months, fertilizer salts accumulate in the mix, and the fine root tips that meet them get scorched the same way leaf tips do. Salt burn and fluoride burn look nearly identical — both are the plant’s extremities dying of chemistry — and they often arrive together, since tap water adds its own mineral load.
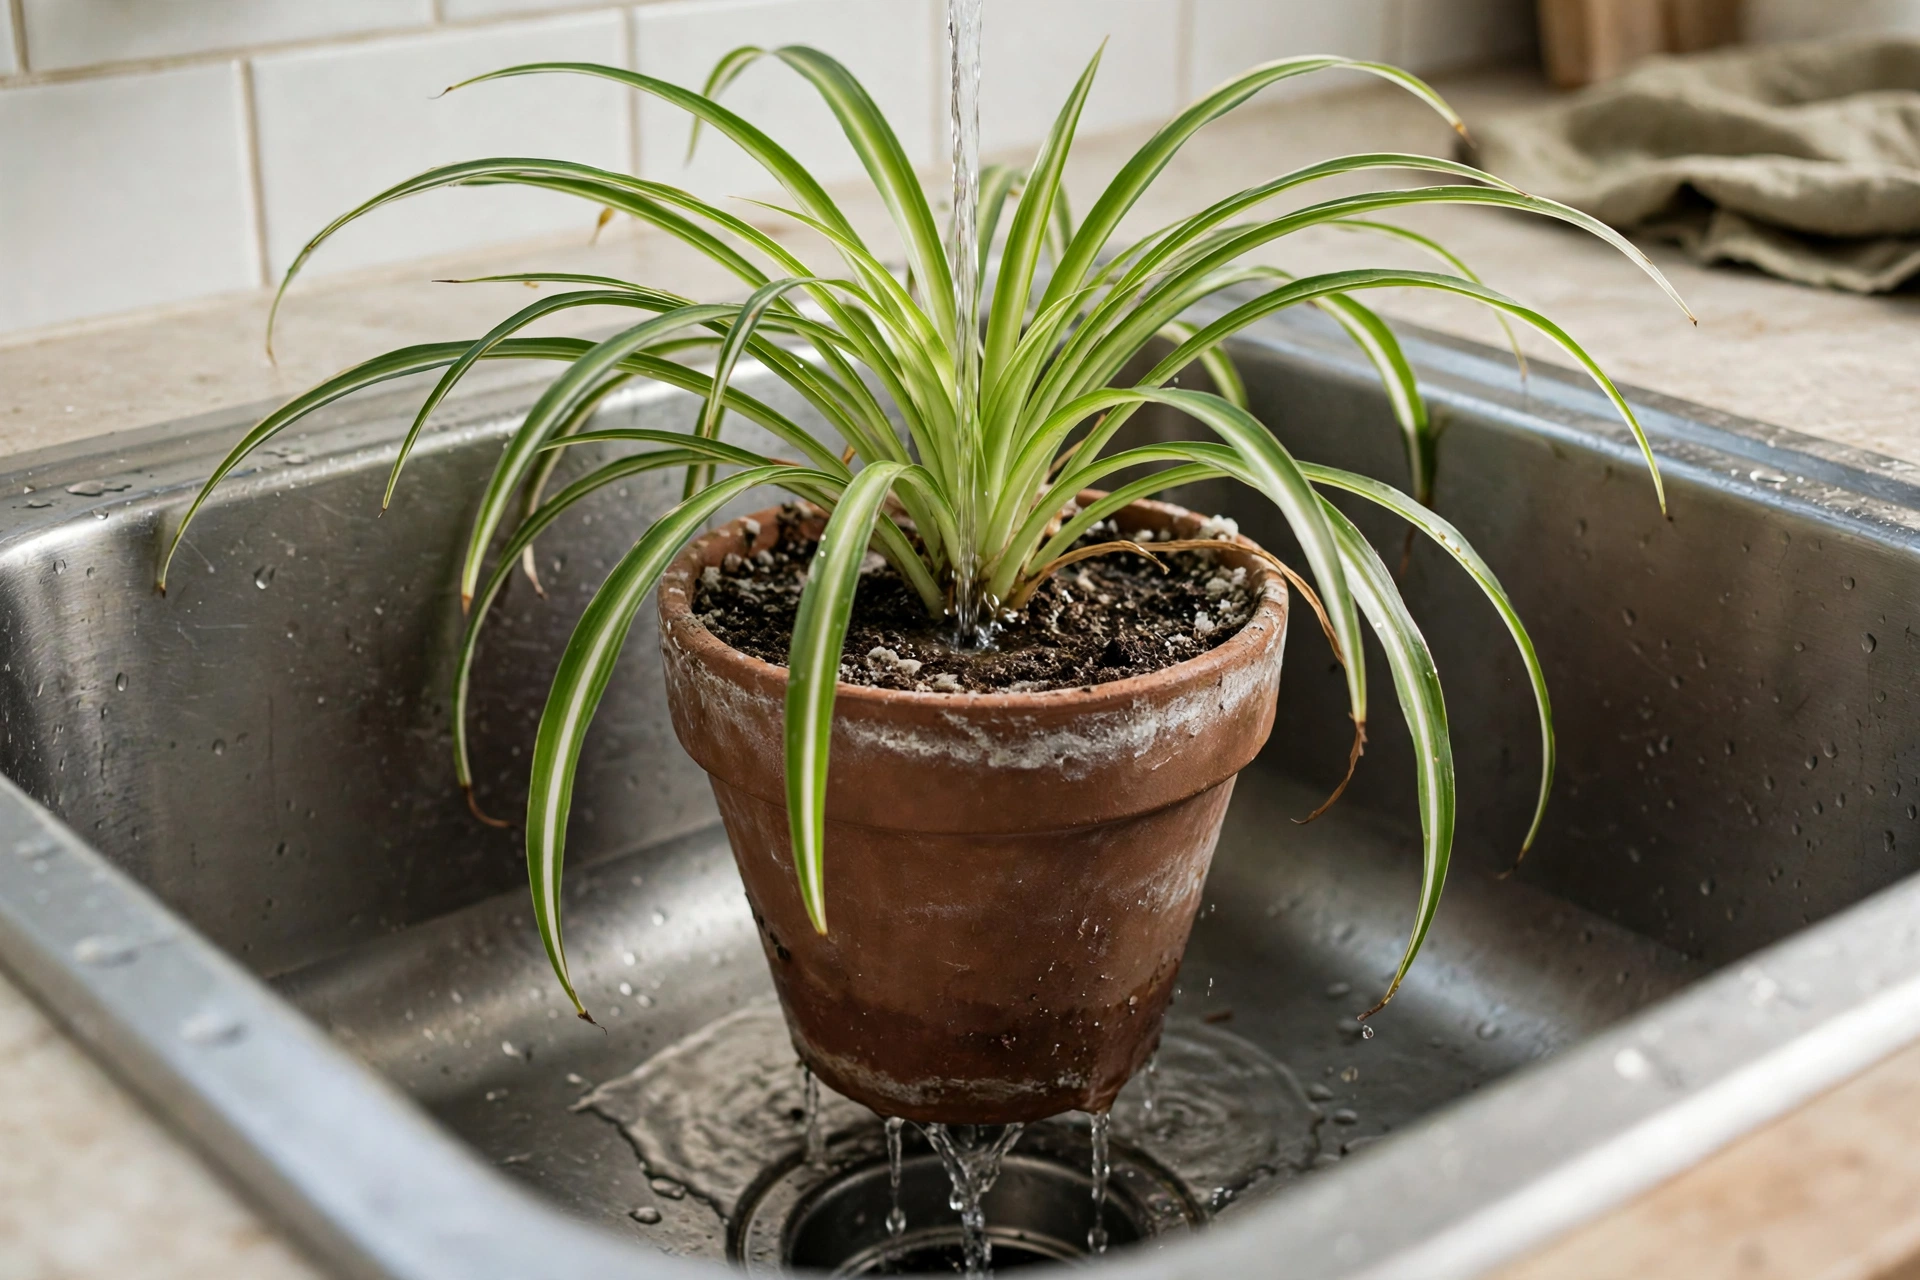
The tell: a white crust on the soil surface or pot rim; tips browning faster after feeding season starts; a plant fed little and often, or at full strength “to help it.”
The fix: flush. Set the pot in a sink and run clean water (distilled or rain, ideally) through it slowly — two to three times the pot’s volume — and let it drain completely. Repeat every few months if you keep using tap water. Going forward, feed the way our spider plant care guide sets out: lightly, in the growing season only, and never into dry soil.
Cause 3: Inconsistent watering — feast and famine
Spider plants store water in their thick, fleshy roots, which makes them forgiving — but swinging between bone-dry and soaked still stresses the leaf ends. The tip is the last place water reaches, so it is the first place a shortage shows, and repeated shortages leave repeated small burns that read as steadily lengthening brown tips.
The tell: tips brown in step with your schedule — a forgotten month, a holiday, a plant that only gets watered when it visibly wilts — and the soil pulls away from the pot’s edge when dry.
The fix: the top-inch rhythm from the care guide: water thoroughly when the top inch of soil is dry, drain the saucer, repeat. Consistency matters more than volume; this plant would rather be slightly under-watered on a rhythm than rescued and drowned in turns.
Cause 4: Dry air — the winter contributor
Heated winter rooms run very dry, and leaf tips — thin, exposed, at the end of the line — give up moisture faster than the roots can replace it. Dry air rarely causes dramatic browning on its own in this species, but it lengthens tips that fluoride or salts started, which is why brown tips so often get worse in winter even when nothing else changed.
The tell: browning accelerates when the heating comes on; other thin-leaved plants nearby show crispy edges too.
The fix: group plants together, move them off radiator heat and away from vents, or run a small humidifier nearby. Misting does almost nothing beyond the hour it is done — it is the room’s average humidity that counts.
Cause 5: harsh direct sun
A spider plant in a hard patch of midday sun — especially through glass, and especially a variegated one — can scorch at the tips and edges of the leaves facing the window. Sunburn tends to bleach before it browns, so this cause usually announces itself with pale, washed-out patches first.
The tell: damage concentrated on the window side; pale or bleached areas alongside the brown; the plant sits in direct midday sun.
The fix: bright, indirect light — the position the care guide recommends — close to a window but out of the direct beam, or behind a sheer curtain.
Cause 6: A tight pot — the minor cause
A very rootbound plant — roots circling the drainage holes, water running straight through without wetting the mix — struggles to keep its leaf ends supplied and will brown tips from simple thirst-by-plumbing. Spider plants like being snug and flower and pup best slightly rootbound, so this cause only counts when the pot is truly packed.
The tell: water drains through suspiciously fast; roots visible at the surface and through the holes; growth stalled despite good light.
The fix: repot one size up in spring, teasing the roots gently. If the pot is merely snug, leave it — snug is this plant’s preference, and repotting is not a cure for the other five causes.
The trim: make it look clean in two minutes
Brown tips never heal — the tissue is dead, and no water change turns it green. Trimming is cosmetic, but done right it makes the plant look instantly kept, and it does not harm the leaf:
- Use clean, sharp scissors.
- Cut through the brown only, following the leaf’s natural taper to a point — a cut shaped like the original tip, not a flat stub.
- Leave the thinnest sliver of brown at the edge. Cutting into green tissue wounds it, and the wound browns back a little, starting the whole look again.
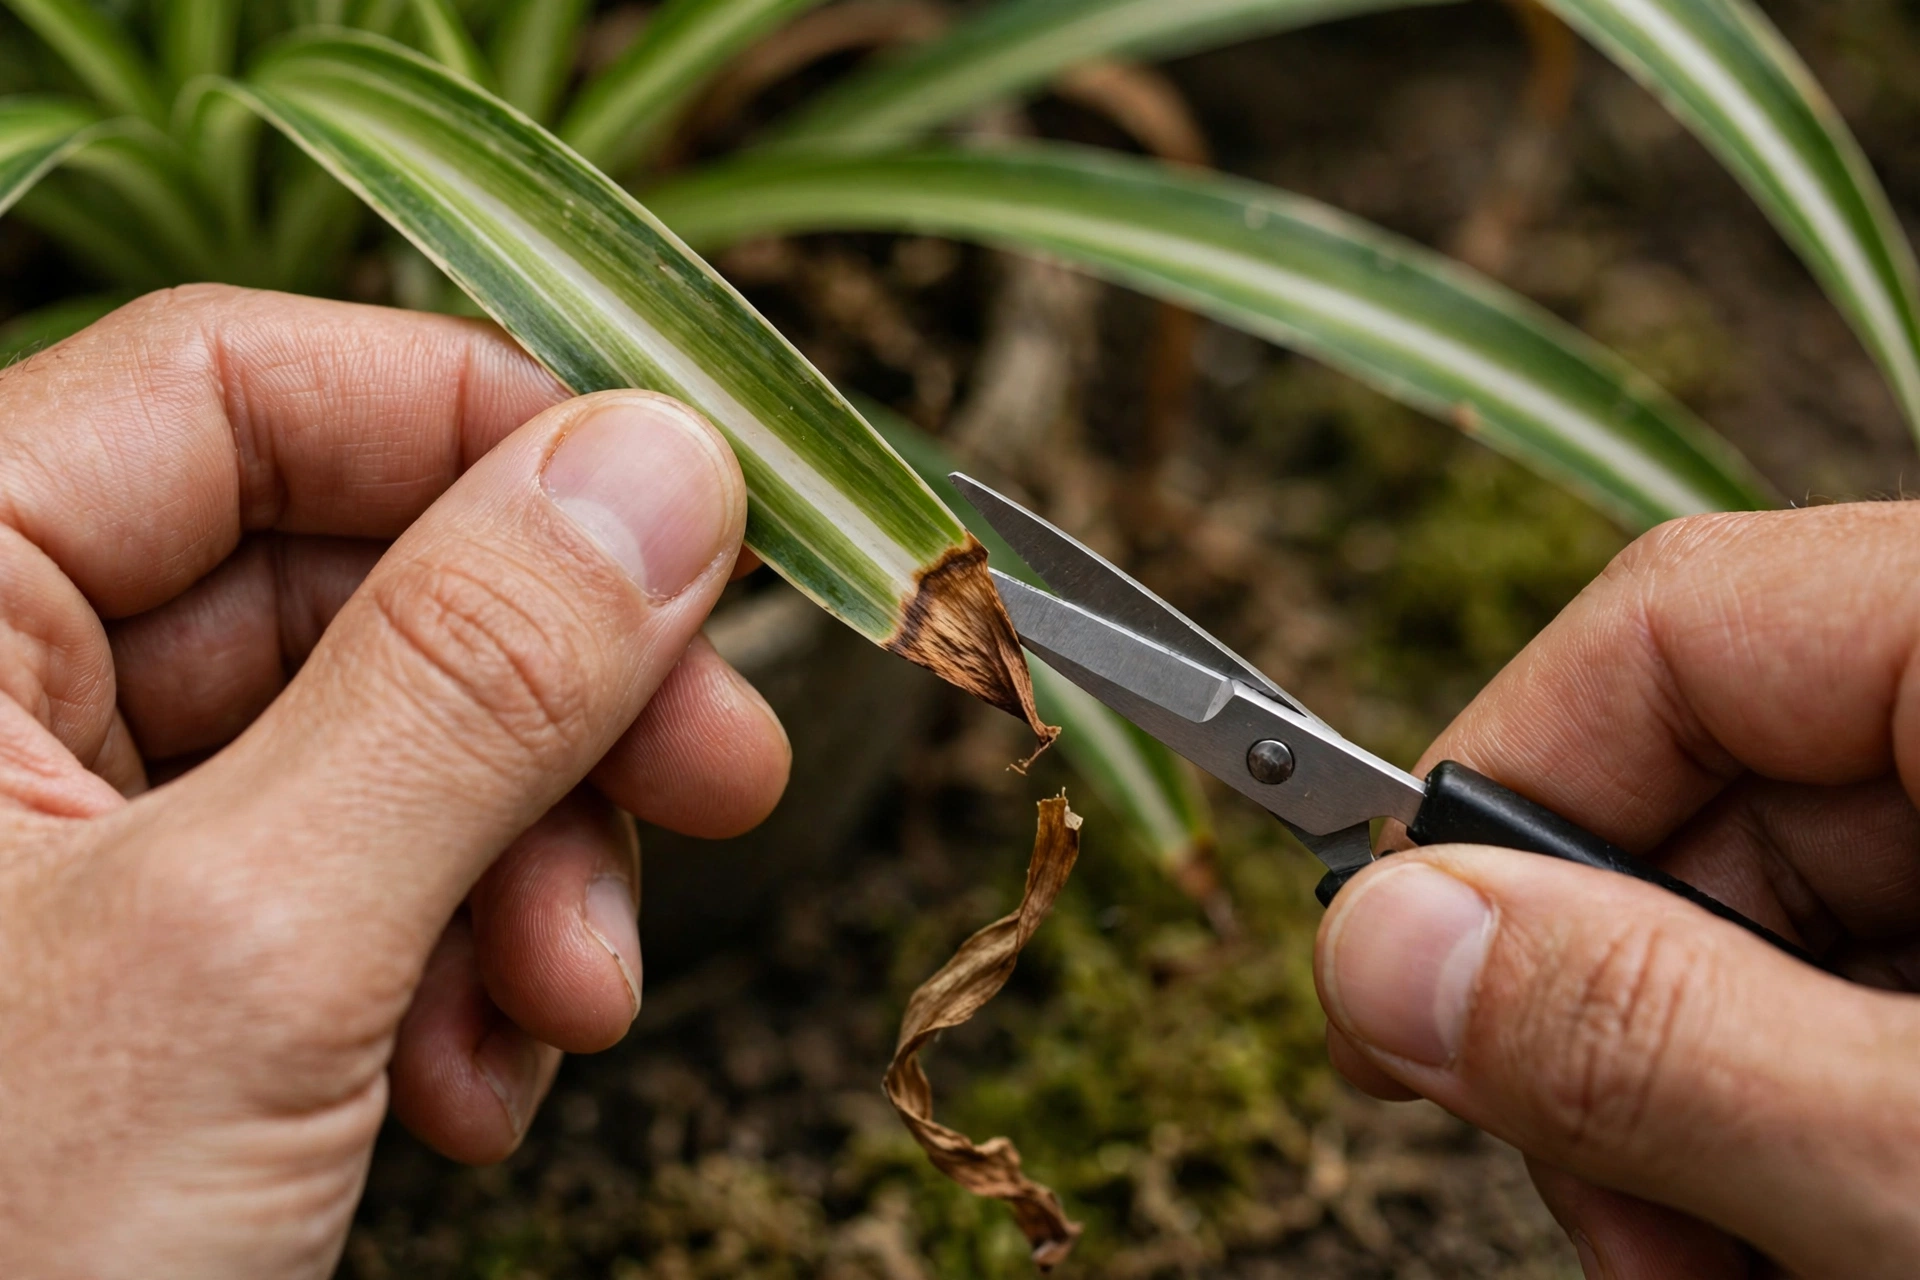
Then give the fix time: with clean water, new leaves arrive tip-perfect, and most owners see the difference clearly within four to six weeks of new growth.
Keeping the tips clean
- Default to distilled or rainwater for this species — it prevents Cause 1 outright.
- Flush the pot with clean water every few months to keep salts from building.
- Water on the top-inch rhythm; avoid feast-and-famine swings.
- Bright, indirect light; no midday beam through glass.
- Feed lightly and seasonally, never into dry soil.
North Carolina State Extension’s spider plant profile gives the same care picture used throughout this guide — bright, indirect light, even moisture, and a plant that rewards plantlets when it is slightly rootbound.
Spider plant brown tips questions, answered
Will the brown tips on my spider plant turn green again?
No. The brown tissue is dead, and plants do not repair dead leaf tissue — they replace it with new growth. That is why the fix is judged by new leaves, not old ones: once the cause is removed, new leaves grow in with clean tips while the old brown ends can be trimmed away for looks.
Does letting tap water sit overnight make it safe for a spider plant?
Half safe. Standing overnight lets chlorine evaporate, which helps — but fluoride, the bigger problem for spider plants, does not evaporate no matter how long the water stands. If your tap water is fluoridated, only distilled water, rainwater, or a filter specifically rated for fluoride removal fully solves it.
Is distilled water safe to use on a spider plant long-term?
Yes, with one footnote. Distilled water carries no minerals at all, so a plant watered with it forever relies on its soil and feeding for minerals — which the normal light feeding schedule covers. Many growers use distilled water for spider plants for years with excellent results; rainwater, where you can collect it, is the free equivalent.
Should I cut the brown tips off my spider plant?
You can, and it is purely for appearance — the plant neither needs it nor minds it. Cut within the brown tissue, follow the leaf’s natural point, and leave a hair of brown at the edge so you do not wound the green. Never trim more than the dead portion; the green part of the leaf is still feeding the plant.
Why are only some of my spider plant’s leaves getting brown tips?
Usually position and plumbing. Leaves facing a sunny window take the sun cause; the oldest leaves, with the longest history of tap water, show fluoride burn first and worst. A whole-plant pattern points at the water or salts; a one-sided or oldest-only pattern points at light or simple leaf age.
How long until my spider plant grows clean tips again?
New leaves reflect the new water within weeks — most growers see clearly cleaner growth four to six weeks after switching and flushing. Existing leaves keep the brown they already earned; either trim them as above or let the plant replace them in its own time. Spider plants grow fast in season, so a full cosmetic recovery inside one growing season is realistic.



2 Comments